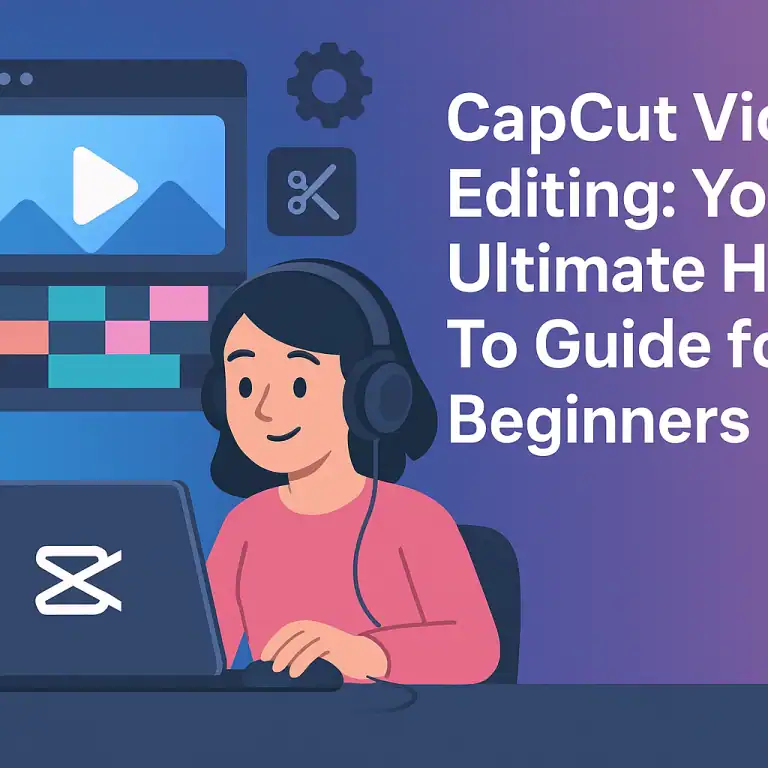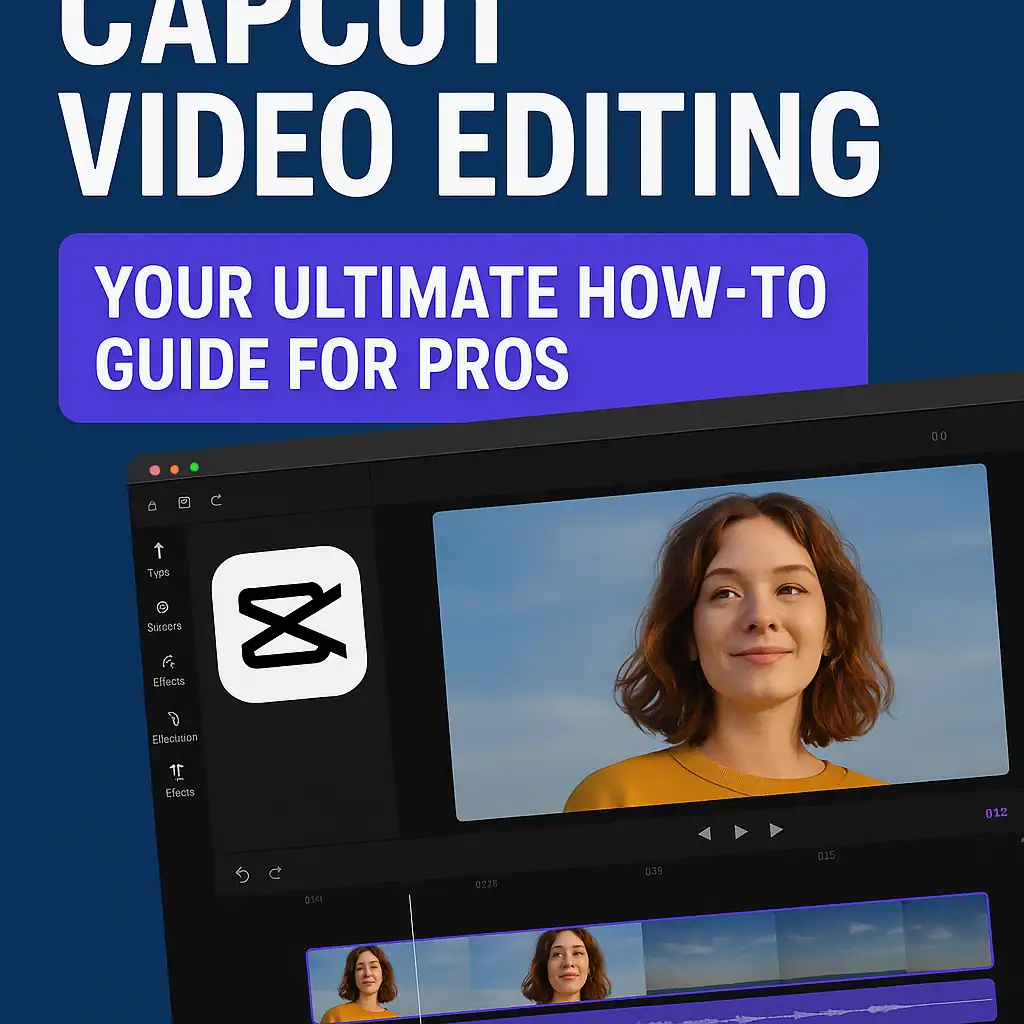
Master CapCut Video Editing: Your Ultimate How-To Guide for Pros
Welcome, aspiring video creators! You’ve landed in the right place to elevate your editing skills. CapCut has revolutionized video editing, making it accessible and powerful for everyone. In this comprehensive guide, we’ll transform you into a CapCut editing master, covering everything from the interface basics to advanced trimming and transition techniques. Get ready to create stunning videos that capture attention and tell your story with professional flair.
Before You Start: Getting CapCut
Before we dive into the exciting world of video editing, you’ll need CapCut. It’s completely free to use, and you can sign up to start your creative journey. If you’re considering upgrading to CapCut Pro for enhanced features, be sure to look for the best available deals to maximize your value.
1. Navigating the CapCut Interface: Your Creative Hub
Every great journey begins with understanding your surroundings. Let’s get familiar with CapCut’s intuitive interface, your command center for all video projects.
- Create a New Project: Start by clicking the prominent blue “Create project” button. This action opens up your blank canvas, ready for your creative vision.
- Media Panel (Left-Hand Side): This is your digital asset library. Here, you’ll import all your raw footage, photographs, and audio tracks. Keep an eye on the tabs at the top of this panel, as they offer additional functionalities we’ll explore shortly.
- Player (Center Screen): The heart of your editing workflow. The Player allows you to preview your video in real-time as you make edits, ensuring every change looks exactly as you intend.
- Details Panel (Right-Hand Side): This panel provides crucial information about your project, including its name, aspect ratio, resolution, and other technical specifications. Need to make adjustments? Click the “Modify” button to change project settings like name, aspect ratio, resolution, frame rate, and color space.
- Timeline (Bottom of the Screen): This is where the magic happens! The timeline is your primary workspace for arranging, trimming, and enhancing your clips. All your editing actions will take place here.
With a firm grasp of CapCut’s layout, you’re now ready to import your media and begin the transformation.
2. Importing Your Footage: Bringing Your Story to Life
Your raw footage is the foundation of your video. Let’s bring it into CapCut.
- Locate Your Files: Click on the designated panel in the Media section to browse your computer for your video clips.
- Select Your Clips: You can select individual clips or multiple clips simultaneously. To select multiple, click on the first clip, hold down the Shift key, and then click on the last clip to highlight a range.
- Import: Click “Open” to import your selected clips into your media bin within CapCut.
- Add to Timeline: There are two convenient ways to get your footage onto the timeline:
- Using the Plus Button: Hover over a clip in your media bin and click the blue plus button that appears.
- Drag and Drop: Simply click and drag your clips directly from the media bin onto your timeline.
Once your clips are on the timeline, they’re primed for editing!
3. Mastering the Timeline: Zooming for Precision
To achieve precise edits, you’ll often need to zoom in and out of your timeline. CapCut offers several ways to do this:
- Keyboard Shortcuts:
- Zoom In: Hold down
Control(orCommandon Mac) and press the+key. - Zoom Out: Hold down
Control(orCommandon Mac) and press the-key.
- Zoom In: Hold down
- Mouse Wheel (Recommended):
- Zoom In: Hold down
Control(orCommandon Mac) and scroll your mouse wheel up. - Zoom Out: Hold down
Control(orCommandon Mac) and scroll your mouse wheel down.
- Zoom In: Hold down
Find the zoom level that best suits your current editing task for optimal visibility.
4. Trimming Your Clips: Refining Your Narrative
Trimming is fundamental to creating a polished video. It allows you to remove unwanted sections and keep only the most impactful moments. Your playhead, the white marker on your timeline, indicates your current position in the video. Drag it to navigate through your footage and pinpoint your desired trim points.
- Splitting Clips:
- Position your playhead where you want to split the clip.
- Click the small “Split” icon in your timeline toolbar, or simply press
Control + B(orCommand + Bon Mac). This divides your clip into two separate segments. - Select the unwanted segment and press the
Deletekey on your keyboard.
- Dragging Clip Edges:
- Hover your mouse over the beginning or end of a clip on the timeline until your cursor changes to a double-headed arrow.
- Click and drag the edge of the clip inward towards your playhead to shorten it, or outward to extend it.
- Using Q and W Keys:
- Position your playhead.
- Press
Qto delete everything to the left of the playhead. - Press
Wto delete everything to the right of the playhead.
These methods provide flexibility and speed for precise trimming.
5. Essential Timeline Tools: Beyond the Trim
CapCut’s timeline toolbar offers a suite of powerful tools to enhance your editing workflow:
- Undo/Redo: The ubiquitous arrows that save you from mistakes and allow experimentation.
- Split (Control + B / Command + B): As covered, for precise cuts.
- Delete: Removes selected clips or segments.
- Marker Tool: Click this to place markers on your timeline. These act as visual reminders for specific actions, points of interest, or future edits.
- Freeze Frame: With a clip selected, click this to create a still image of the current frame, perfect for emphasis or transitions.
- Reverse: Play your footage backward with a single click.
- Mirror: Flips your clip horizontally.
- Rotate: Rotates your footage in increments.
- Crop: Allows you to adjust the visible area of your footage, reframing your shots with precision.
6. Adding Transitions: Smooth Storytelling
Transitions are crucial for creating a seamless flow between your clips, avoiding abrupt cuts. They guide the viewer’s eye and enhance the narrative.
- Access Transitions: Click on the “Transitions” tab at the top of your interface.
- Preview Transitions: Hover your mouse over the various transition options to see a live preview of how they will look.
- Apply Transition: Once you find a transition you like, click and drag it directly between two clips on your timeline.
- Adjust Duration: Select the transition on your timeline. In the top-right panel, you’ll find a slider to adjust its duration. A shorter duration creates a quicker, snappier transition, while a longer duration offers a more gradual effect.
Experiment with different transitions to find the perfect style for your video.
7. Adjusting Clip Framing: Perfecting Your Composition
Once your clips are in place, you’ll often want to fine-tune their visual presentation. CapCut makes it easy to adjust framing and composition.
- Select the Clip: Click on the clip you wish to adjust on your timeline.
- Adjust Scale (Zoom): In the top-right panel, locate the “Scale” slider. Drag it to the right to zoom in on your video or to the left to zoom out.
- Adjust Position: Use the “Position” sliders in the same panel to precisely move your video along the X (horizontal) and Y (vertical) axes. Alternatively, you can click and drag the video directly within the Player window. Blue rulers will appear to help you perfectly center your footage both vertically and horizontally.
- Rotate: If your video needs rotational adjustment, use the rotation wheel in the top-right panel to freely rotate your clip.
These tools give you complete control over how your footage is presented within the frame.
Frequently Asked Questions (FAQ)
Q1: Is CapCut truly free to use?
A1: Yes, CapCut offers a robust free version that provides all the essential tools for professional video editing. There is also a CapCut Pro subscription for advanced features.
Q2: Can I edit audio in CapCut?
A2: Absolutely! CapCut provides comprehensive audio editing tools, allowing you to adjust volume, add music, sound effects, and even apply voice effects. We’ll cover these in a future guide!
Q3: What video formats does CapCut support for import and export?
A3: CapCut supports a wide range of popular video formats for import, including MP4, MOV, AVI, and more. For export, MP4 is the most common and widely compatible format.
Q4: How can I add text or titles to my CapCut video?
A4: CapCut has a dedicated “Text” tab where you can add various text styles, apply animations, and customize fonts, colors, and sizes to create compelling titles and captions.
Q5: Is it possible to add visual effects to my videos in CapCut?
A5: Yes, CapCut offers a rich library of visual effects under the “Effects” tab. You can add body effects, video effects, and even AI-powered effects to enhance the visual appeal of your creations.
Conclusion
Congratulations! You’ve taken significant steps towards mastering CapCut video editing. From understanding the interface to importing footage, trimming clips with precision, adding dynamic transitions, and perfecting your framing, you now possess the foundational skills to create compelling videos. CapCut’s intuitive design and powerful features make it an invaluable tool for content creators of all levels. Keep practicing, keep experimenting, and let your creativity flow. The world is ready for your stories!